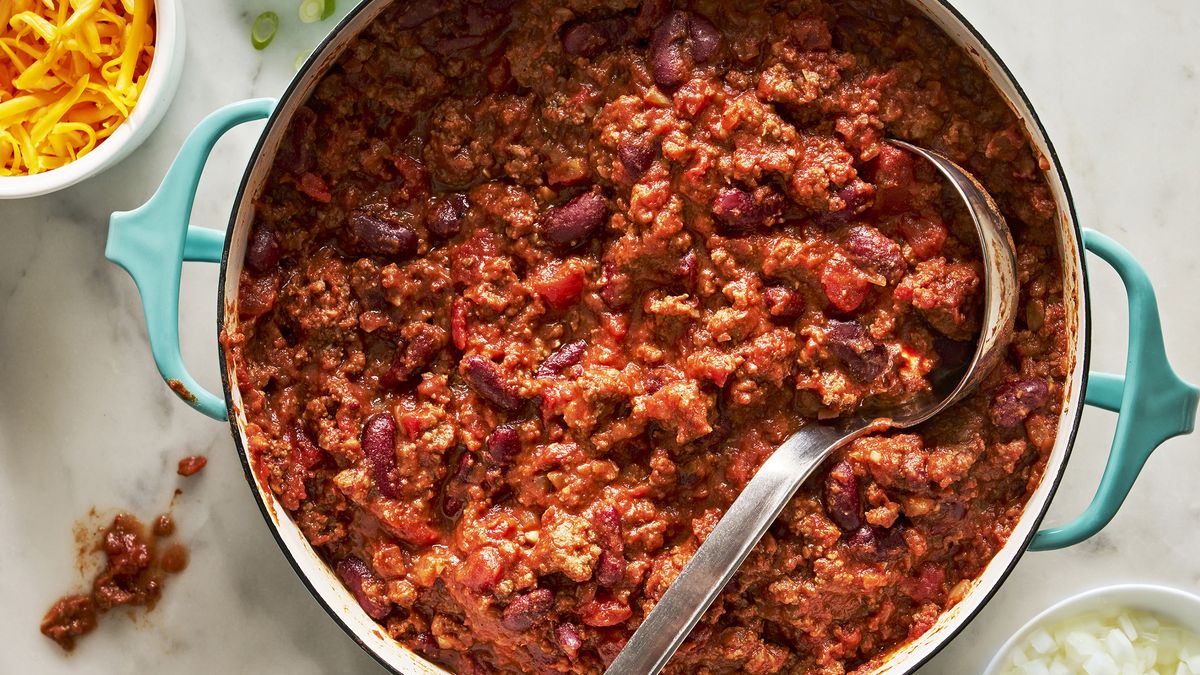
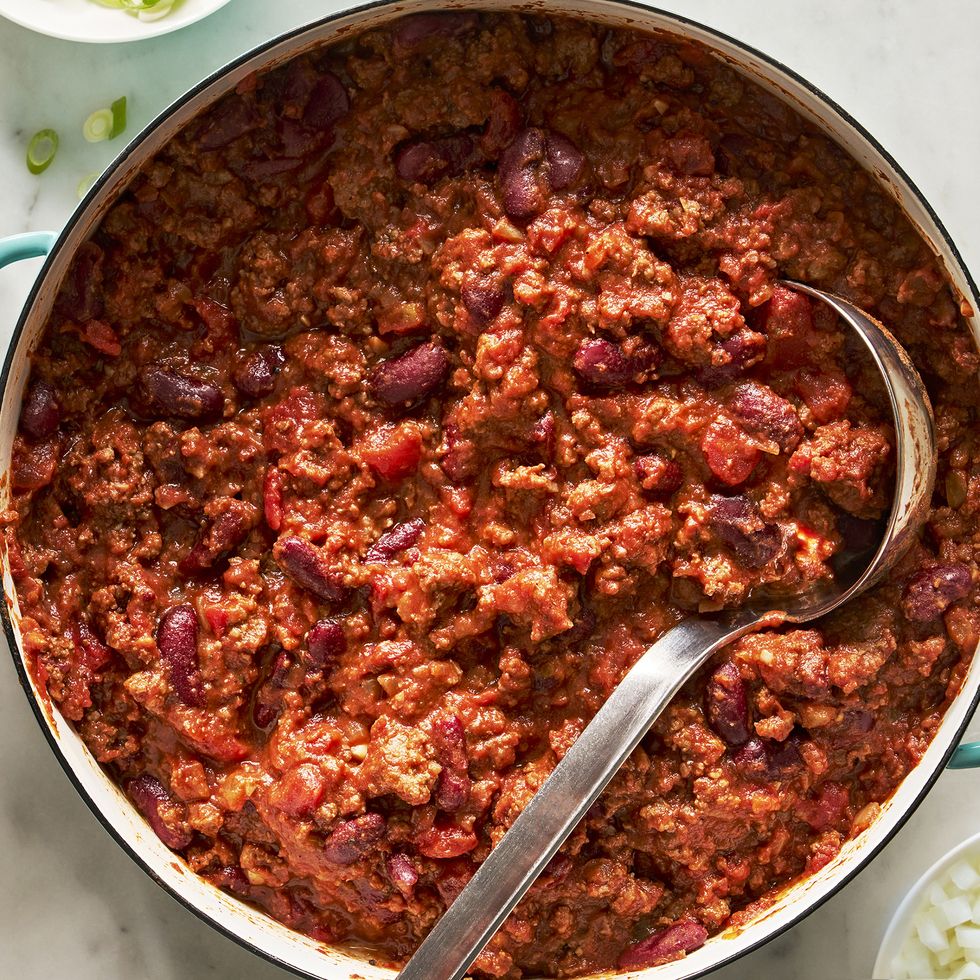
How To Make Classic Chili
Ingredients
• Onion: I prefer to use a chopped white onion here, but you can use a yellow onion if you prefer.
• Garlic: Freshly minced garlic is cooked down with the onion to create the base of our chili. I use 3 cloves, but if you’re a garlic fanatic, feel free to taste and adjust!
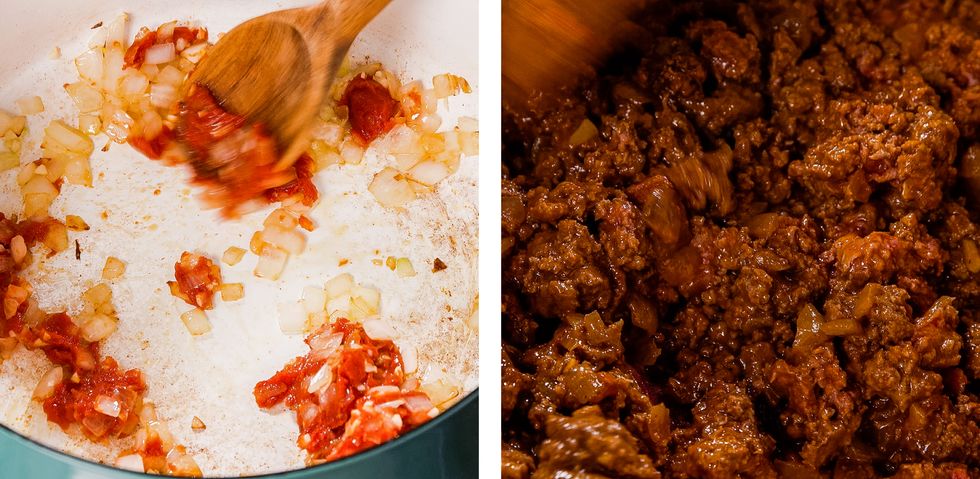
• Tomato Paste: If you’re all about a rich tomato flavor in your chili, really spend the time to cook down your tomato paste. Cook it down for 2 to 3 minutes before adding the beef, until it starts to darken and stick to the pot. This will concentrate the sweetness of the tomato and cook out the “tinny” paste flavor.
• Ground Beef: In my book, beef takes the crown for the most classic chili protein. If you love the heartiness of a beef chili but are trying to eat less red meat, ground turkey or chicken totally works with this recipe. If you'd prefer vegetarian chili, I’ve got you covered there too with this 3-bean recipe.
• The Spices: Everyone knows a good chili has a complex flavor, thanks in part to a bunch of different spices at work. Cooks swear by all sorts of spices in their chili—everything from cocoa to mustard powder. These are the four I’ll pretty much always use: chili powder, cumin, dried oregano, and paprika.
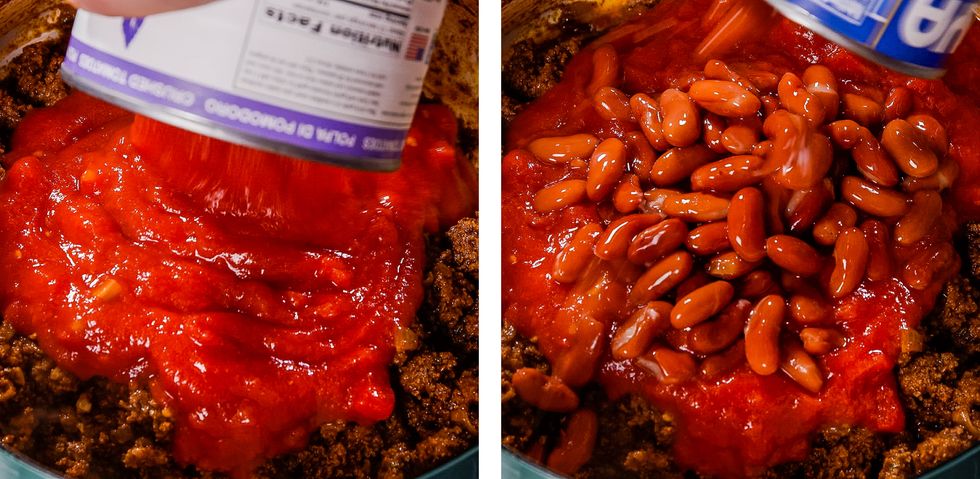
• Crushed Tomatoes: A can of crushed tomatoes is a must-have in my classic chili. It not only bulks out the chili, but adds a sweetness and texture that perfectly rounds out all of the flavors.
• Kidney Beans: Beans in chili are HOTLY contested in Texas. Texas chili is beanless (and pretty spectacular), but the rest of the country seems to love beans (including me!), so I’m all for it. I use kidney beans in this recipe, but black, pinto, even white beans work.
Step-By-Step Instructions
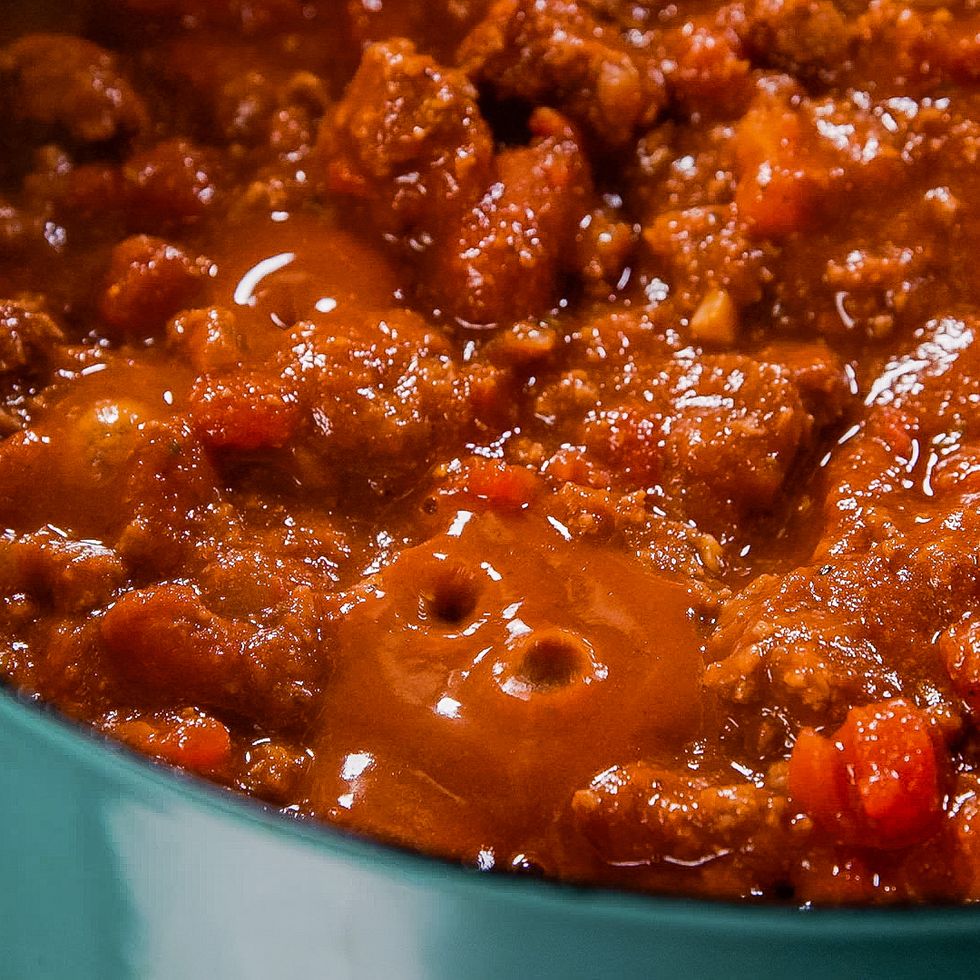
After chopping your onion and garlic, you’re ready to start on your chili journey. Add your onion first to a large pot, then cook until soft and translucent before adding your garlic. Then, it’s time to add your tomato paste. Now, this step is one that you don’t want to rush, especially if you love a strong tomato flavor in your chili. Spend the time (at least 2 to 3 minutes) to really cook it down—wait until it takes on a dark color and begins to stick to the pot. Then, you’re ready to add your ground beef.
Once your ground beef is added, it’s time to add in the flavor powerhouse: the 4 key spices. If you’re not a fan of spice, feel free to adjust or omit the cayenne! Once your spices are added, it’s time to bulk the chili up with our crushed tomatoes and beans. I know, I know—beans are highly debatable in chili, but they're a must-have for me.
Bring everything to a boil, then reduce the heat and let simmer. For quicker-cooking chili like this recipe, don’t cover the pot. You want the liquid in the chili to reduce, and leaving the lid off is crucial. If you're simmering the chili for a longer time, partially cover the pot to prevent the liquid from evaporating too quickly.
Once the liquid has slightly reduced, season with salt and pepper to taste. Now, it's time for the final and most important step (in my book): adding the toppings. I love to add on shredded cheddar, sour cream, and sliced scallions, but feel free to get creative here. Add some hot sauce to kick up the heat, give some crunch with your favorite crackers, or level up the creamy factor with sliced avocado.
Recipe Tips
• Thicken it up. If your chili is thinner than you’d like, resist adding thickeners like flour or cornstarch. Instead, be patient: Let it simmer over medium-low heat until it reaches your desired consistency. Not only will this thicken your chili, but it will build and concentrate the flavor.
• Starting to burn? Immediately move the contents of your pot (don’t scrape the bottom to avoid the burnt part!) to another pot, adding extra liquid if needed as you bring it back up to a simmer. If it still tastes a little burnt, try adding some ground cinnamon—it will soak up the bitter, burnt taste and replace it with warming, spiced notes instead.
Chili Variations
• One-Pot Greek Chicken Chili: Featuring tender pieces of dark meat chicken, creamy white beans, and tender veggies, this cozy Greek-inspired chili is the perfect filling-but-not-too-heavy dinner for those extra-chilly nights.
• Cincinnati Chili: If you’ve never heard of this classic variation, then get ready: With a tweaked sauce, spaghetti, and beans (on TOP of the chili), this recipe is anything but boring.
• White Chicken Chili: Adding white beans makes this heartier than your average chicken noodle soup, and the addition of green chiles, jalapeño, and sour cream add the perfect amount of heat and creaminess to switch up classic chili.
Storage
One of our favorite things about chili? It tastes even better the next day. If you have any leftovers, store them in the fridge for 3 to 5 days.
What To Serve With Chili
Made This?
Let us know how it went in the comments below!
